Planting a tree is one of the most rewarding things you can do! A well-planted tree not only increases property value and appeal but also provides shade, better air quality, and habitat for wildlife. However, tree planting and transplanting are more involved than just digging a hole and dropping a tree in. Done correctly, you’ll set your tree up for a lifetime of success. Here’s how to do it right in 7 easy steps!
The Best Time for Planting

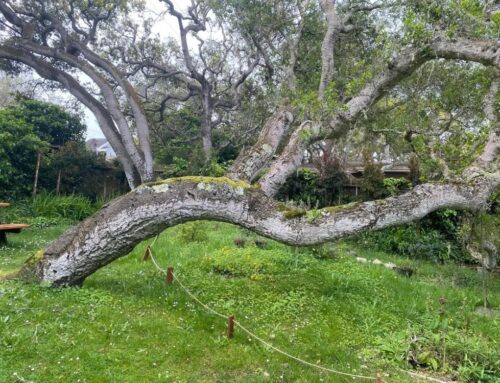
In theory, you can plant a tree any time the soil conditions allow you to dig a hole. But if you want your tree to thrive, timing is key. The goal is to give the tree the maximum amount of time to establish before facing extreme weather conditions such as scorching heat or freezing cold. If you are transplanting an existing tree, check out our tips on The Best Time of Year to Transplant Trees.
Fall: The Ideal Season for the West Coast
Fall is the best time to plant trees on the West Coast. Cooler temperatures and moist soil conditions provide the most suitable environment for root establishment. Trees planted in the fall have many months to grow roots before the heat of summer arrives. This head start helps them survive the dry, hot conditions that can stress newly planted trees.
Spring: Perfect for the East Coast
On the East Coast, spring is the most favorable time to plant trees. As the ground thaws and temperatures rise, trees have the entire growing season to establish roots before the onset of winter frost. Planting in early spring ensures your tree has enough time to adapt to its new environment and grow strong.
Summer: Proceed with Caution
While it’s possible to plant trees in the summer, it comes with challenges. High temperatures and dry conditions make it difficult for newly planted trees to establish. Frequent watering and attentive care are necessary to help the tree survive. For more tips on summer planting, check out our blog on Can You Plant Trees in Summer?
Winter: Rare But Possible
If the soil is frozen in winter where you live, planting can’t be done. But in milder climates where the ground doesn’t freeze, winter planting is an option.
How to Plant a Tree – Step-By-Step
Here is a step-by-step guide to planting a tree correctly. For additional tips, check out our blog on Tree Planting Do’s and Don’ts.
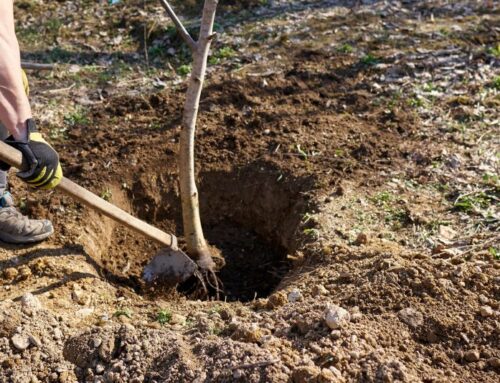
1. Digging the Hole
Start by digging a hole that is two to three times the width of the tree’s root ball but no deeper than the root ball’s height. The goal is to provide plenty of room for the roots to spread while ensuring the tree sits at the correct depth.
- Width Matters: A wide hole encourages lateral root growth, which is essential for tree stability and nutrient absorption.
- Depth Precision: Avoid digging too deep. A tree planted too deep can struggle to establish roots and may suffocate.
- Keep the Soil Nearby: Save the soil you remove so you can use it to backfill later. Avoid mixing it with other materials that could disrupt the tree’s acclimation to the native soil.
2. Plant High
Planting the tree slightly higher than ground level is recommended, especially in areas with clay soils. Clay tends to hold water, which can drown the roots if the tree is planted too low.
- Root Flare Visibility: Position the tree so that the root flare (where the roots spread at the base of the trunk) is about 1-2 inches above the surrounding soil. This gives the tree proper drainage, helping to prevent root rot and girdling roots.
- Prevent Settling Issues: Soil naturally settles over time, and planting too low can lead to water pooling around the trunk, increasing the risk of root rot.
3. Inspecting the Roots
Before planting, inspect the tree’s roots to ensure they are healthy and free of issues.
- Root Health Check: Healthy roots should be firm, white, and free from foul odors. Discolored, mushy, or smelly roots are a sign of disease.
- Loosen Circling Roots: If the tree has been in a container, check for circling or girdling roots. These can strangle the tree as it grows. Use a clean, sharp tool to cut or loosen them.
- Act Early: Addressing root issues at the time of planting is far easier than trying to fix them later. Once the tree is established, correcting root problems often involves significant disruption and stress to the tree.
4. Don’t Amend the Soil
It may be tempting to heavily amend the soil with fertilizers and additives, but this can do more harm than good.
- Adaptation is Key: Trees need to adapt to the native soil conditions to establish properly. Heavy soil amendments can create a “pot effect,” where roots struggle to grow beyond the amended soil.
- Light Amendments Only: A small amount of organic matter, such as compost, can be mixed into the backfill soil, but avoid overdoing it.
- Focus on Establishment: Let the tree settle naturally and focus on consistent care in the first few months rather than relying on fertilizers.
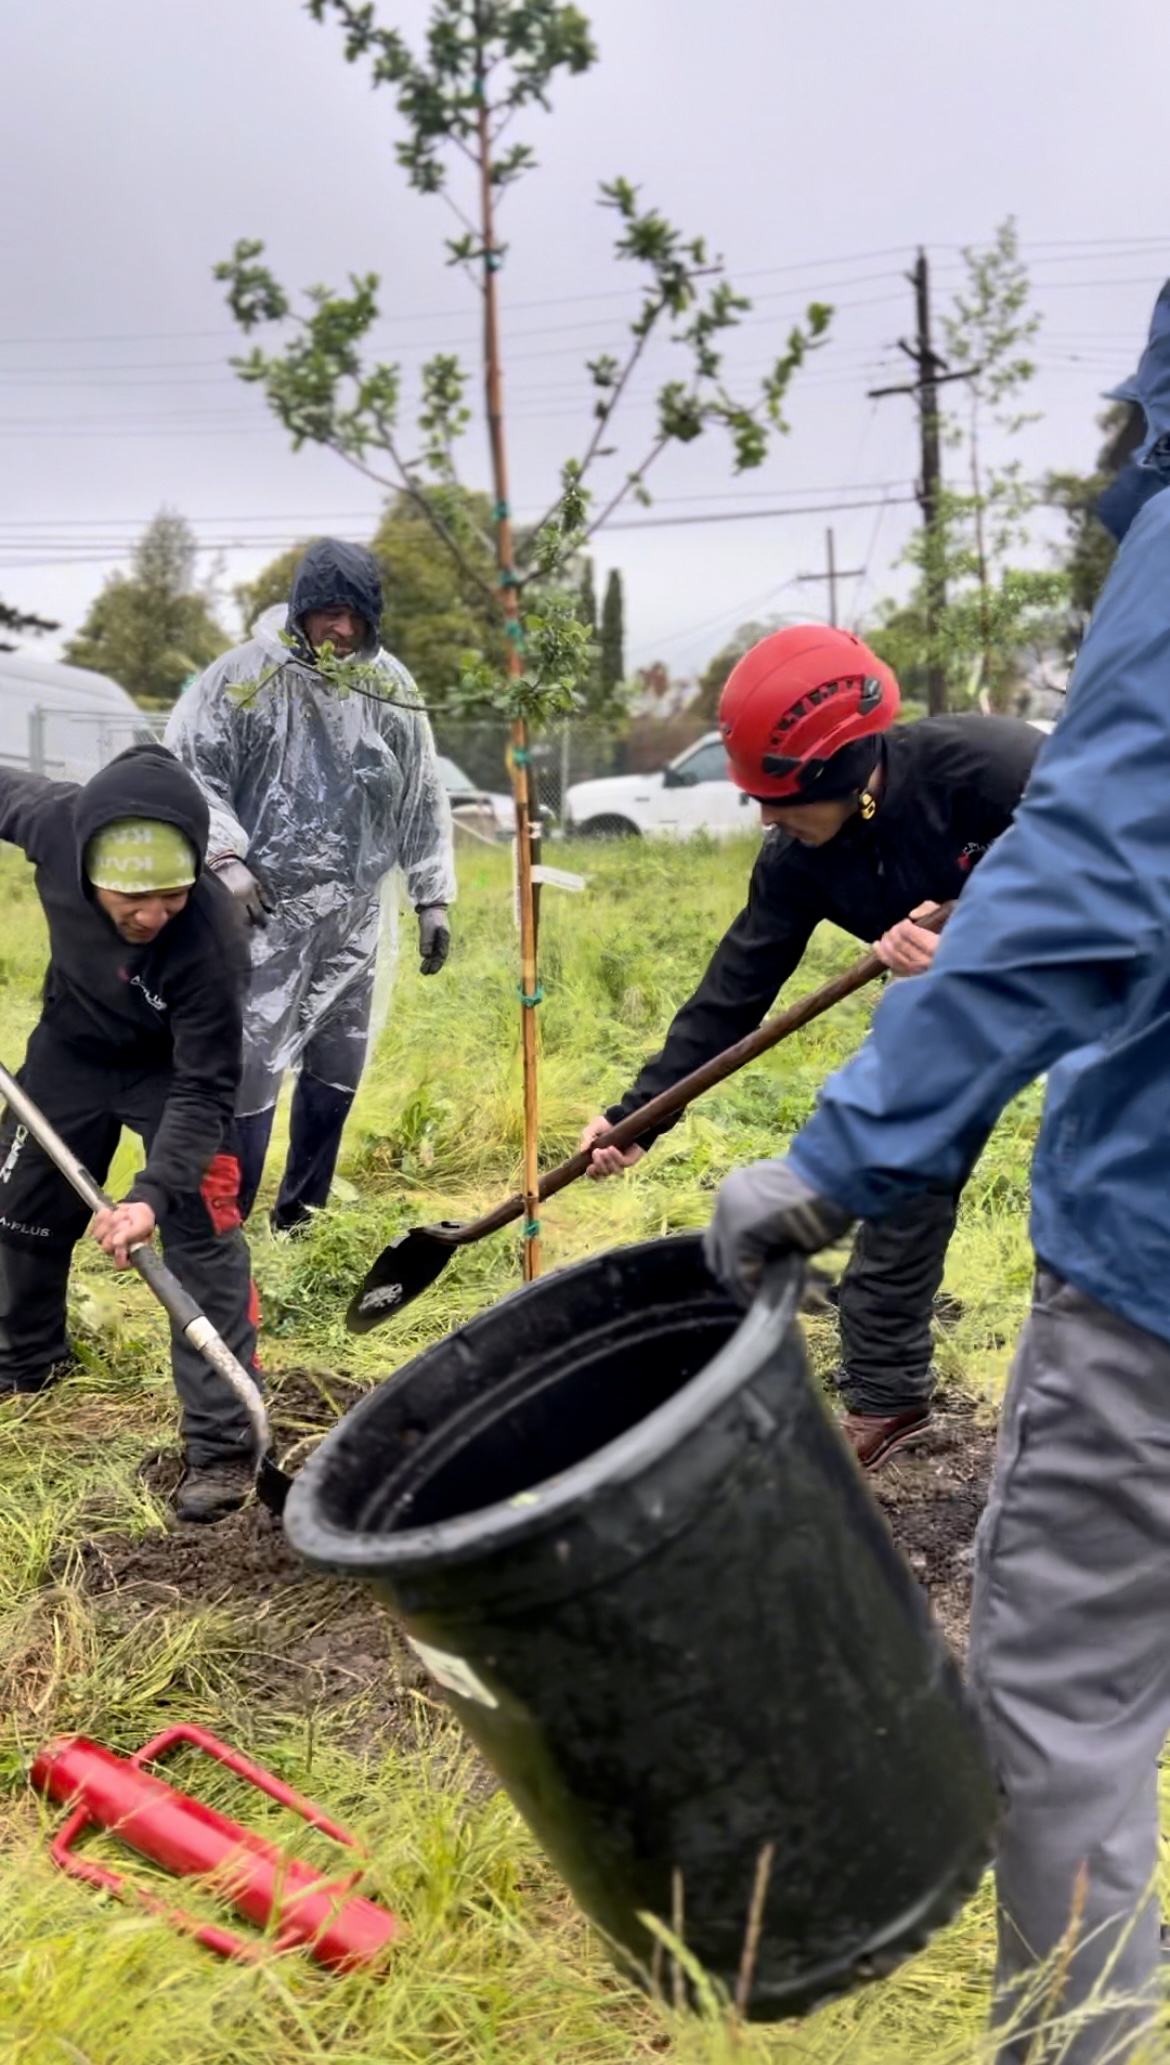
5. Eliminate Air Pockets
Excessive, large air pockets in the soil can dry out roots and cause the tree to sink over time. After placing the tree in the hole, backfill it with the original soil.
- Layered Backfilling: Add soil in layers, tamping down gently after each layer to eliminate air pockets.
- Watering During Backfilling: Water the soil as you backfill to help it settle evenly around the roots and create good soil-to-root contact.
- Avoid Over Compaction: While it’s important to eliminate air pockets, don’t compact the soil too tightly. Roots need loose soil to grow and spread.
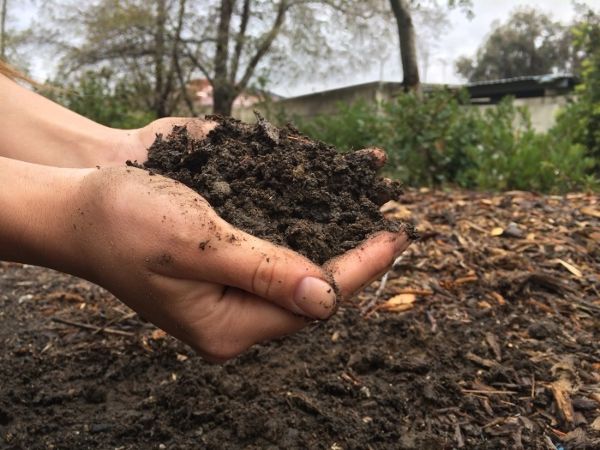
6. Mulching
Mulching is an important step for retaining soil moisture and regulating temperature around the tree’s roots.
- Layer Thickness: Spread a 2-4 inch layer of mulch around the base of the tree, extending out to the drip line (the edge of the tree’s canopy).
- Keep Mulch Away from the Trunk: Mulch piled against the trunk can trap moisture and create an ideal environment for pests and diseases.
- Choose Organic Mulch: Materials like wood chips, bark, or shredded leaves decompose over time, enriching the soil.
A Plus Tree generates natural wood mulch from our tree pruning and removal operations. To recycle what would otherwise be wood waste, check out our Arbor Mulch to learn how you can request free mulch!
7. Proper Watering
Watering is one of the most important steps to help a newly planted tree survive.
- Initial Soaking: Immediately after planting, soak the soil thoroughly to ensure the roots are well-hydrated.
- Deep Watering: Water deeply 1-2 times per week, depending on weather conditions. Avoid shallow, frequent watering, which encourages surface roots.
- Monitor Soil Moisture: Check the soil regularly to make sure that it’s moist but not waterlogged. Overwatering can suffocate the roots.
As young trees grow and mature, they will need less frequent but deeper watering. Our deep watering services can assist when your babies become large, mature trees.
Bonus Tip! Fertilizing New Trees
Newly planted trees generally do not require heavy fertilization. Instead, focus on light, organic matter that can nourish the soil over time. At A Plus Tree, we use a specially formulated blend to help trees survive transplant shock and establish successfully:
- Liquid Biochar: Enhances water and nutrient retention.
- Humic Acid: Provides organic nutrients.
- Mycorrhizal Inoculant: Promotes beneficial soil microbes.
- Sugars: Feeds the soil’s microbial community.
- Rooting Hormones: Stimulates root growth.
- Vitamins: Improves stress tolerance.
These tree fertilization treatments are suitable for new trees and create an ideal environment for them to grow strong, healthy roots right from the start.
Having Troubles? Contact A Plus Tree for Tree Planting
If you’re not sure how to plant a tree or have concerns about your newly planted trees, we’re here to help! Contact the A Plus Tree team today for a free assessment and get recommendations for fertilization, pruning, and all things tree care.